If you’ve ever walked into your garage on a freezing morning or during a summer heatwave, you’ve probably felt how quickly outdoor temperatures seep inside. A garage door acts as one of the biggest gateways for heat loss — or gain. That’s where a garage door insulation kit comes in.
As someone who’s spent years fixing, insulating, and upgrading garage doors, I can tell you this: properly insulating your garage can completely change how you use the space — from a cold, noisy area to a comfortable extension of your home.
Below, I’ll explain why every homeowner should consider installing one, how to choose the right kit, and even share a real case from a recent home project that shows the real-world benefits.
Content
Why a Garage Door Insulation Kit Is Worth It
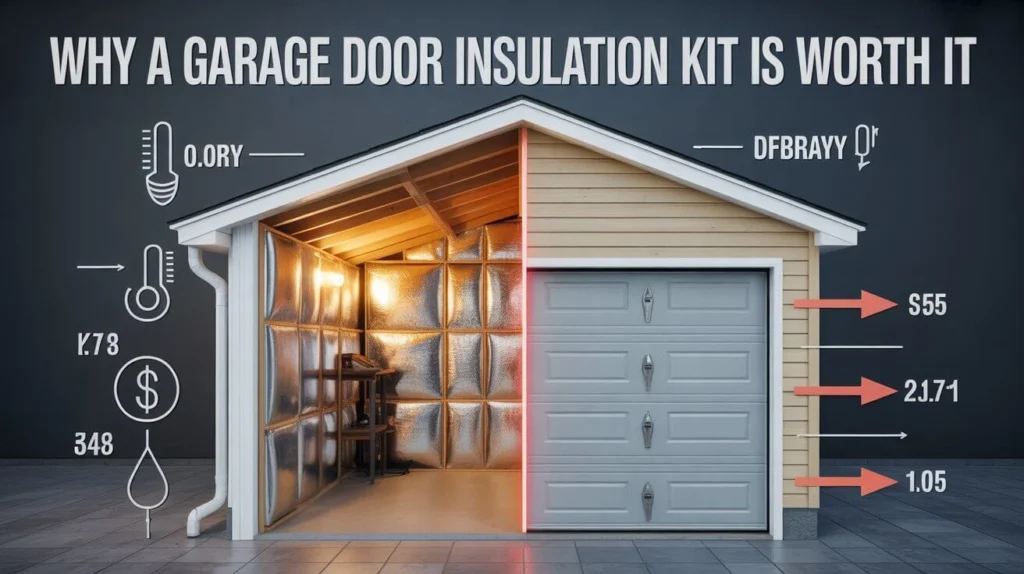
Most homeowners don’t realize that an uninsulated garage door can account for up to 25% of total household heat loss. That’s wasted energy, money, and comfort. A quality garage door insulation kit offers several key benefits that go beyond warmth.
1. Better Energy Efficiency
Insulated garage doors reduce heat transfer between your garage and the outside environment. That means less work for your home’s HVAC system — and lower energy bills.Whether you live in a cold climate or a hot one, insulation helps regulate your garage temperature control year-round.
2. Enhanced Comfort
If your garage doubles as a workshop, gym, or storage space, you’ll appreciate the improved comfort. The temperature remains consistent, so you won’t freeze your fingers off in winter or sweat in summer.Many homeowners notice the difference immediately after installing a DIY garage insulation kit — especially in homes where garages connect directly to living areas.
3. Noise Reduction
One unexpected perk of insulated garage door panels is noise control. The added material helps block outside sounds — from street traffic to lawnmowers — creating a quieter, calmer space inside.
4. Protection for Your Belongings
Fluctuating temperatures and humidity can damage tools, paints, and electronics. Insulation stabilizes the environment, keeping stored items in better condition year-round.
5. Increased Property Value

Improving your garage’s energy efficiency and comfort can boost your home’s resale appeal. Buyers increasingly value energy-efficient garage upgrades, making insulation a small investment with long-term payoffs.
How to Choose the Right Garage Door Insulation Kit
Not all insulation kits are created equal. Choosing the right one depends on your garage’s design, door material, and local climate. Let’s break it down.
1. Material Type
The most common insulation materials are foam, fiberglass, and reflective foil.
- Foam kits (polystyrene or polyurethane) are lightweight, easy to cut, and ideal for DIY installations.
- Fiberglass kits offer higher R-values but require careful handling and protective gear.
- Reflective foil kits work best in hot climates, as they reflect radiant heat rather than absorbing it.
Pro Tip: If you’re choosing between a foam vs reflective garage door insulation kit, consider your weather first. Foam performs better in cold winters, while reflective kits shine (literally) in hot, sunny regions.
2. R-Value
The R-value measures how well the insulation resists heat flow. The higher the number, the better the insulation.For most standard garages, an R-value between 6 and 9 is sufficient. For extreme climates, go for 10 or higher.
3. Ease of Installation
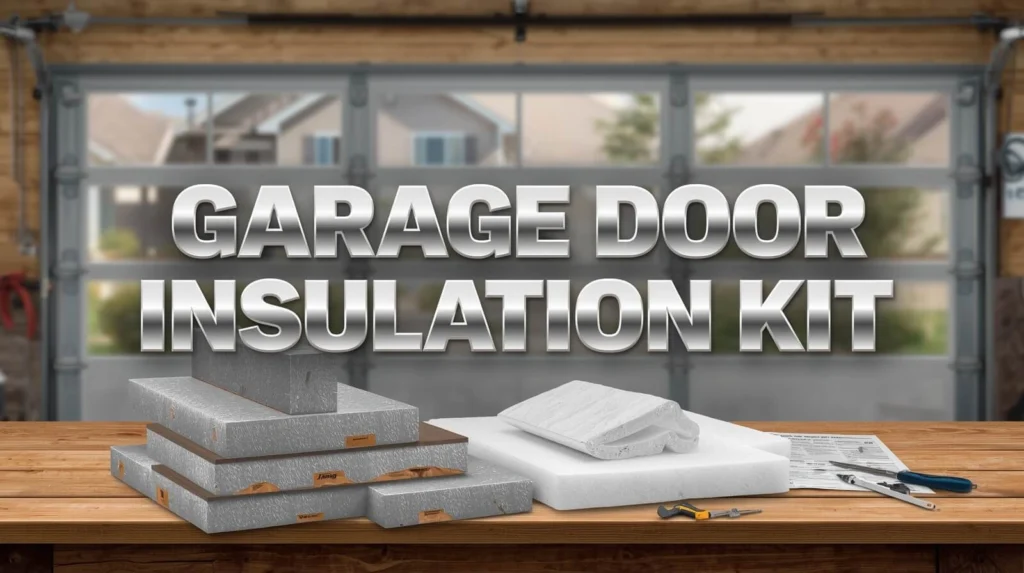
If you’re handy, look for a DIY garage door insulation kit with pre-cut panels and adhesive backing. These can be installed in just a few hours using basic tools like a utility knife and measuring tape.
4. Durability & Safety
Opt for moisture-resistant materials, especially if you live in humid regions. Fire resistance is another plus. Many high-end kits are both flame retardant and mold-resistant.
5. Fit & Aesthetics
Measure twice, cut once — this rule is golden. Ensure the panels from your garage door insulation kit fit snugly between your garage door panels without interfering with door movement. Some kits even include white vinyl finishes that enhance the garage’s interior appearance.
Real-Life Case Study: From Freezing Garage to Cozy Workshop
Last December, I worked with a client named Sarah, who runs a small home baking business. Her garage served as her prep space — but every winter, temperatures dropped so low that her butter would literally freeze.We installed a best garage door insulation kit for winter made of foam panels with an R-value of 9. The entire project took about three hours and cost under $200.
The result? Her garage maintained a steady 62°F even on 30°F mornings. Her monthly energy bill dropped by 12%, and she noticed the space stayed quieter, too — no more early-morning street noise while she baked.Sarah told me later, “I can finally use my garage year-round — it feels like part of my house now.”That’s the kind of transformation a simple insulation kit can bring.
Installation Tips for the Best Results
You don’t need to be a professional installer to get great results. Just follow these DIY garage insulation best practices:
- Clean the surface first: Remove dust and oil for better adhesion.
- Measure each panel carefully: Not all door panels are identical in size.
- Cut slightly larger panels: You can trim down for a perfect snug fit.
- Secure edges properly: Use strong adhesive tape or clips to hold panels firmly.
- Seal gaps: Fill small edges with weatherstripping to prevent air leaks.
- Test door balance: After installing, open and close the door to ensure smooth operation.
Pro Tip: Don’t cover hinges or moving parts. It’s a common DIY mistake that can affect door balance or safety sensors.
Common Mistakes to Avoid
- Using the wrong material for your climate (reflective kits aren’t ideal for cold regions).
- Skipping the surface prep step — dust weakens adhesion.
- Blocking door mechanisms with thick panels.
- Forgetting to check door springs — insulation adds weight that might require adjustment.
By avoiding these errors, you’ll extend your wooden garage doors lifespan and maximize your insulation’s performance.
Conclusion: Small Upgrade, Big Impact

Installing a garage door insulation kit is one of the simplest, most affordable ways to make your garage more energy-efficient, quieter, and more comfortable. It’s not just about saving money — it’s about turning your garage into a usable space year-round.
Whether you’re storing tools, working out, or running a home business like Sarah, insulated garage door panels can make all the difference.So, before the next season hits, grab a kit, roll up your sleeves, and give your garage the warmth and efficiency it deserves.
FAQs
How much does it cost to spray foam for 1000 square feet?
It costs about $1,500–$3,000 to spray foam insulate 1,000 sq. ft., depending on thickness and R-value.
Is it better to use foam or fiberglass insulation?
Foam insulation seals air gaps better, while fiberglass is cheaper but less energy efficient.
What are the negatives of spray foam insulation?
Spray foam can be pricey, hard to remove, and may trap moisture if not installed correctly.
How to insulate a garage cheaply?
Use DIY garage insulation kits, foam boards, or reflective foil panels — all budget-friendly ways to insulate your garage for under $150.

Alma Conklin is the sustainability enthusiast. She’s all about eco-friendly garage solutions, helping you save both money and the environment.


