Having trouble getting your garage door remote to work after replacing the batteries or buying a new opener? Don’t worry — learning how to program garage door opener is much easier than most homeowners think. With the right steps, you can sync your remote, keypad, or universal opener in just a few minutes and have your door working smoothly again.
As a garage door quality expert, I’ve helped countless homeowners fix remote and opener issues — from syncing a LiftMaster remote to troubleshooting Genie openers that stopped responding after a power surge. In this complete guide on how to program garage door opener, I’ll walk you through a detailed, brand-by-brand process that’ll make setup feel effortless — even if it’s your first time doing it.
Content
Why Learning How to Program Garage Door Opener Matters
Your garage door opener does more than just lift and lower the door — it plays a key role in your home’s safety and convenience. Understanding how to program garage door opener ensures your remote communicates securely and efficiently with your system.
When you know how to program a garage door opener correctly, you prevent common issues like lost signal, delayed response, or remotes that suddenly stop working after a power outage or battery change. Whether you’re setting up a new unit or reprogramming an old one, following the right steps helps keep your garage door system reliable and your home secure.
Before You Begin: Check These Essentials
Before diving into the setup, keep these quick safety and prep tips in mind:
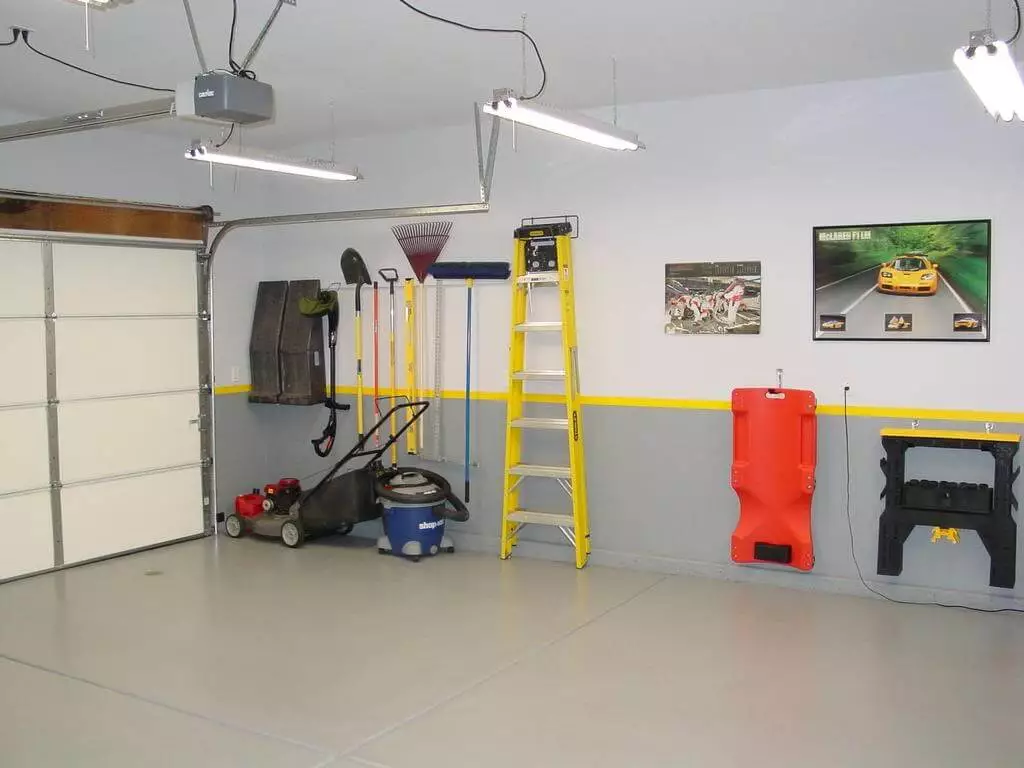
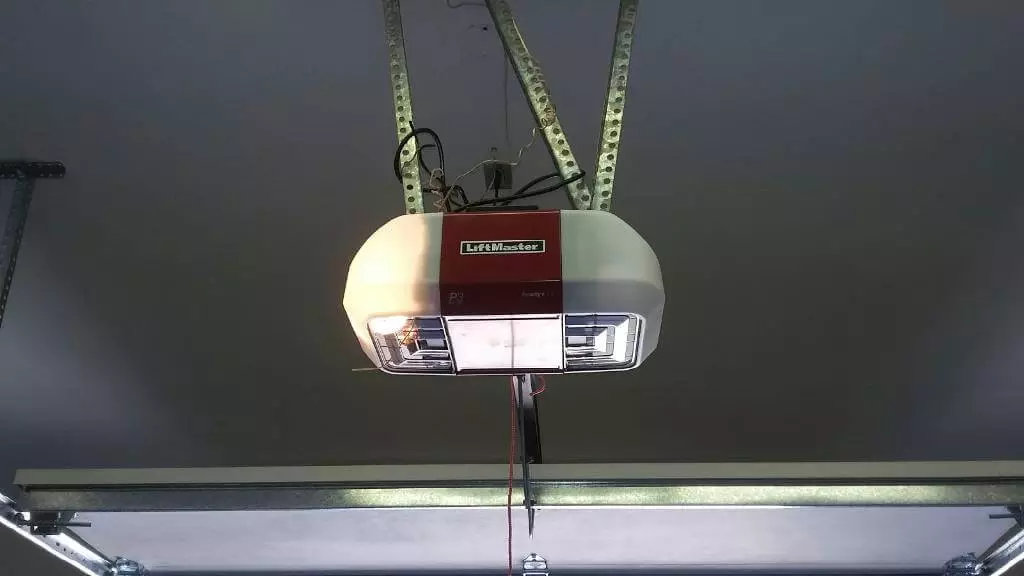
- Locate the “Learn” button on your opener unit usually found under a light cover or near the antenna wire.
- Make sure the remote batteries are fresh and properly installed.
- Clear the area around your garage door. You don’t want anything in the way during testing.
- If you’re reprogramming, consider resetting the opener by holding the Learn button until the LED turns off.
Pro Tip: Always test your remote at different distances to ensure strong signal reception.
How to Program Garage Door Openers by Brand
Below are the most common garage door opener brands and the exact steps to program them.
1. Chamberlain, LiftMaster, and Craftsman Garage Door Openers
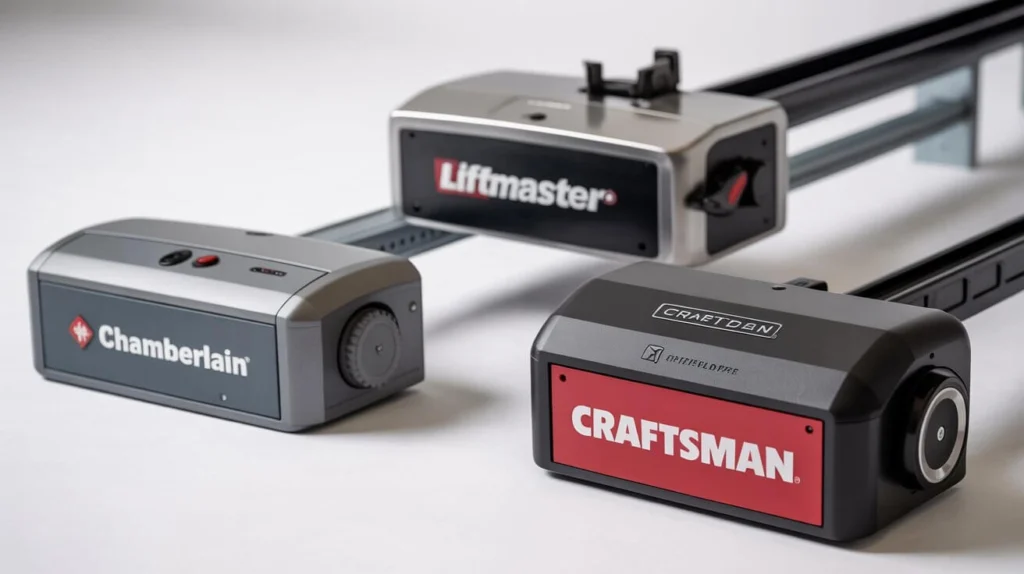
These three brands share a similar programming process since they’re built by the same parent company.
- Press and release the Learn button on your garage door opener. The LED light should glow steadily for 30 seconds.
- Within that time, press and hold the button on your remote until you see the opener lights flash or hear two clicks.
- Release the button and test the remote.
If your remote doesn’t respond, you may need to reprogram your garage door opener or clear old codes by holding the Learn button for 10 seconds before starting again.
2. Genie Garage Door Openers
Genie openers use a slightly different approach, but the process is just as simple.
- Press and hold the Program Set button until the LED indicator blinks twice.
- Press and release the remote button once.
- Wait for the LED to turn solid, then test your remote.
If your Genie opener doesn’t respond, it might be time to reset and reprogram your garage door opener — especially if you recently had a power outage or replaced the circuit board.
3. Sommer and Ryobi Garage Door Openers
These brands use unique control systems that rely on clear LED indicators.
- Hold the Program button on your opener until the light starts flashing.
- Press your remote button once to sync.
- Watch for two quick flashes — that means pairing is successful.
If the LED keeps blinking, repeat the process. Ryobi openers may require holding the button slightly longer before release.
4. Universal Garage Door Openers and HomeLink Systems
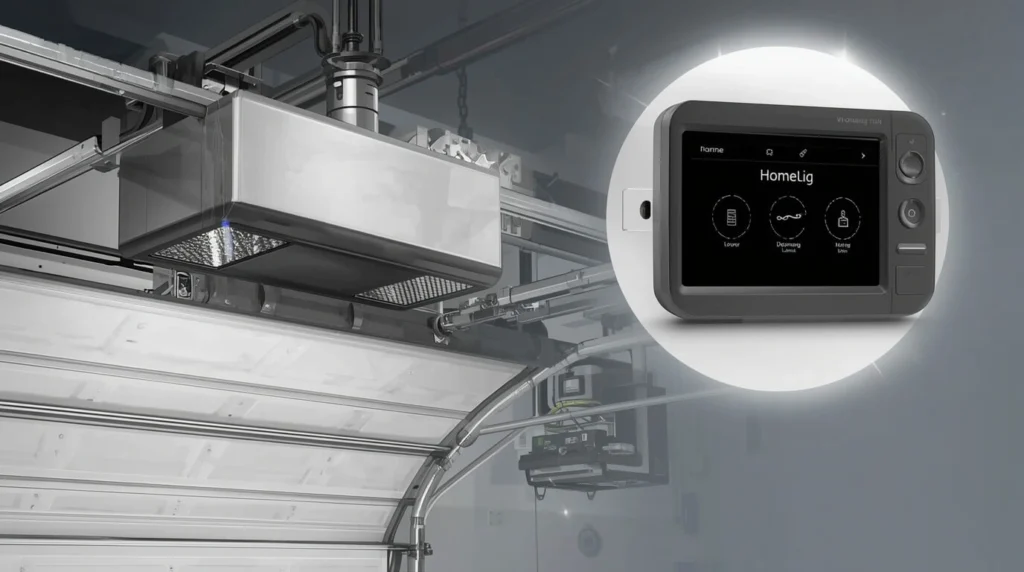
If you’re using a universal garage door opener remote or your car’s built-in HomeLink system, programming may take a few extra steps.
- Hold down the two outer HomeLink buttons until the indicator light flashes rapidly.
- Press the button you want to assign while simultaneously pressing your garage door remote button.
- Once the HomeLink light flashes quickly, press the Learn button on your opener and test the connection.
This method works for most universal garage door opener remotes and can sync with multiple brands, making it one of the easiest ways to learn how to program garage door opener for different systems.
Real-Life Case Study: Reprogramming After a Power Surge
A homeowner I recently worked with in Atlanta had a LiftMaster garage door opener that suddenly stopped working after a thunderstorm. The remote and keypad wouldn’t respond at all.
After checking power and batteries, I noticed the opener’s Learn button LED wasn’t lighting up — meaning the unit lost its memory due to a power surge. We reset the system by holding the Learn button for 10 seconds, then followed the step-by-step programming process above.
Within minutes, the remotes synced back up perfectly. The homeowner was amazed that something so frustrating had such a quick fix — and now keeps the opener on a small surge protector as a preventative measure.
Troubleshooting Common Programming Problems

If your garage door still won’t respond after programming, here’s what to check:
- Remote works only up close: Replace batteries or check for interference from LED bulbs or Wi-Fi routers.
- The learn button won’t respond: Unplug the opener for 30 seconds, then plug it back in to reset.
- Multiple remotes not syncing: Try programming one remote at a time.
- Older openers (pre-1993): These may use internal set switches instead of Learn buttons. Match the switch positions on both the opener and remote.
Tip: For consistent performance, clean your remote’s contacts every few months — garage dust can block signals. Using the Best Garage Door Materials also helps prevent dust buildup and ensures smoother operation over time.
When to Call a Professional
garage door opener correctly — but if your garage door remote still won’t connect or your opener doesn’t retain its memory, it could indicate a wiring or logic board issue. As a professional installer, I always recommend contacting a certified garage door technician if:
- The opener light doesn’t blink during programming.
- You’ve tried multiple remotes with no success.
- You hear clicking but the motor doesn’t move.
Getting expert help not only saves you hours of frustration but also ensures your how to program garage door opener systems stays safe, efficient, and properly programmed.
Final Thoughts
Learning how to program a garage door opener is one of the simplest ways to maintain home convenience and security. Whether you’re working with Genie, LiftMaster, or a universal garage door opener, following the correct steps ensures smooth performance and safety.
Learning how to program garage door opener may seem technical at first, but once you’ve done it once, it’s a skill you’ll rely on for years — especially when helping neighbors or upgrading to smart garage systems. So grab your remote, locate that Learn button, and take control of your garage with confidence knowing you now understand exactly how to program a garage door opener the right way.
FAQs
What are the four buttons on a garage remote?
They usually control multiple doors or lights and can be used when learning how to program garage door opener systems.
How to pair a remote with a garage door?
Press the opener’s Learn button, then your remote button to sync. It’s the main step in how to program garage door opener.
How do you manually reset a garage door?
Unplug the opener, pull the red release cord, then reconnect power to restore normal operation.
Why is my garage door opener not responding to the remote?
It could be low batteries, lost programming, or signal interference — recheck how to program garage door opener steps.

Alma Conklin is the sustainability enthusiast. She’s all about eco-friendly garage solutions, helping you save both money and the environment.

