Programming a garage door remote can seem tricky at first, but with the right guidance, anyone can do it. Learning how to program garage door remote is essential for homeowners who want convenient, secure access to their garage. In this comprehensive guide, I’ll walk you through each step, share troubleshooting tips, and provide real-life examples to make the process straightforward.
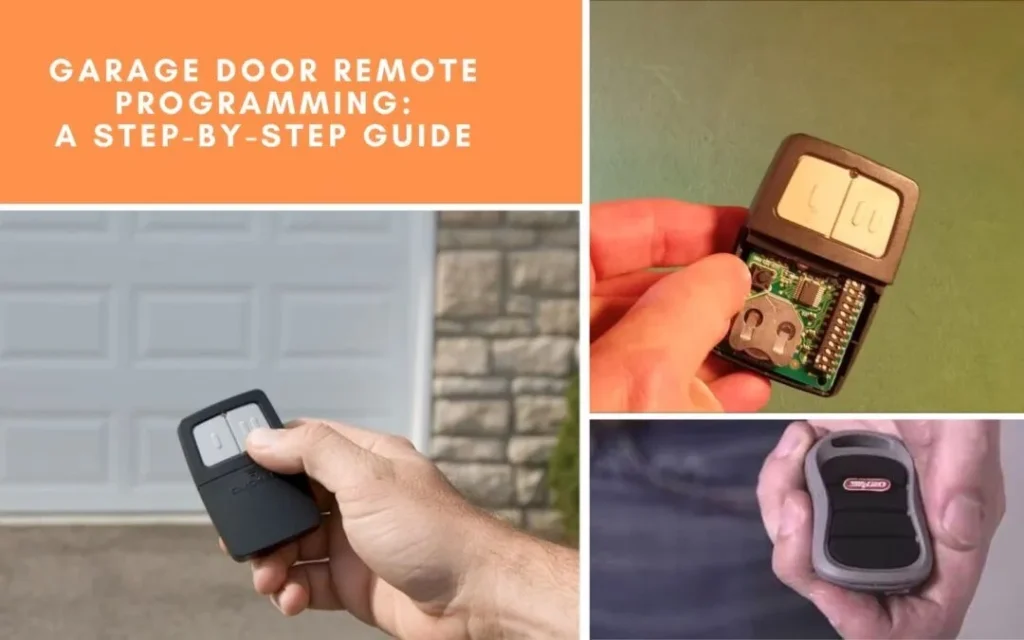
Content
Step 1: Identify Your Garage Door Opener Brand
Before starting, it’s important to figure out your garage door opener brand. Different brands have slightly different programming procedures. Most garage openers come with a manual, but if you’ve misplaced it, don’t worry—you can usually find instructions online or on the manufacturer’s website.
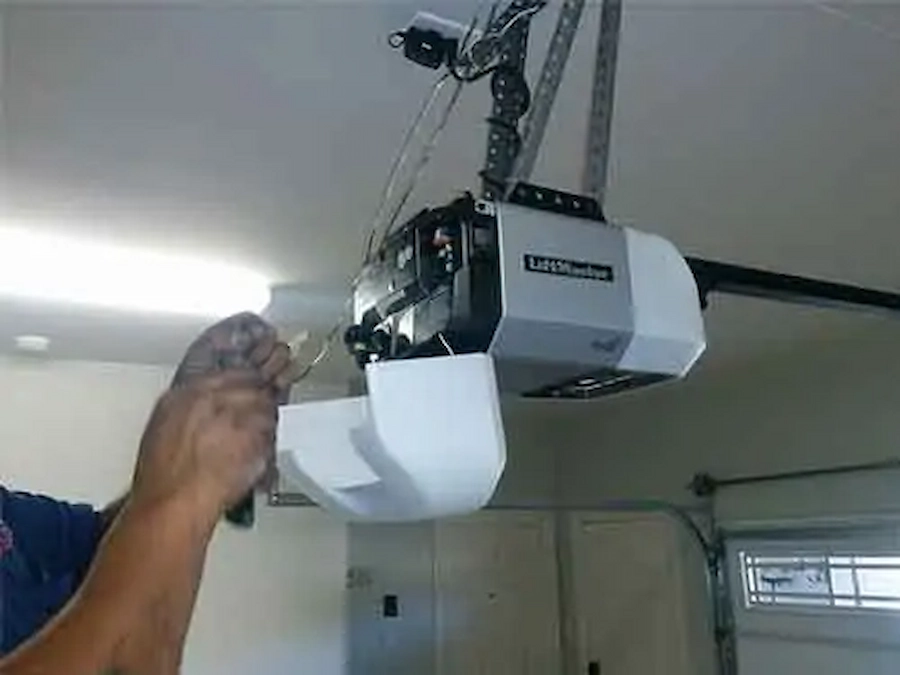
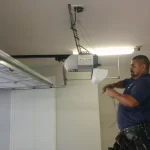
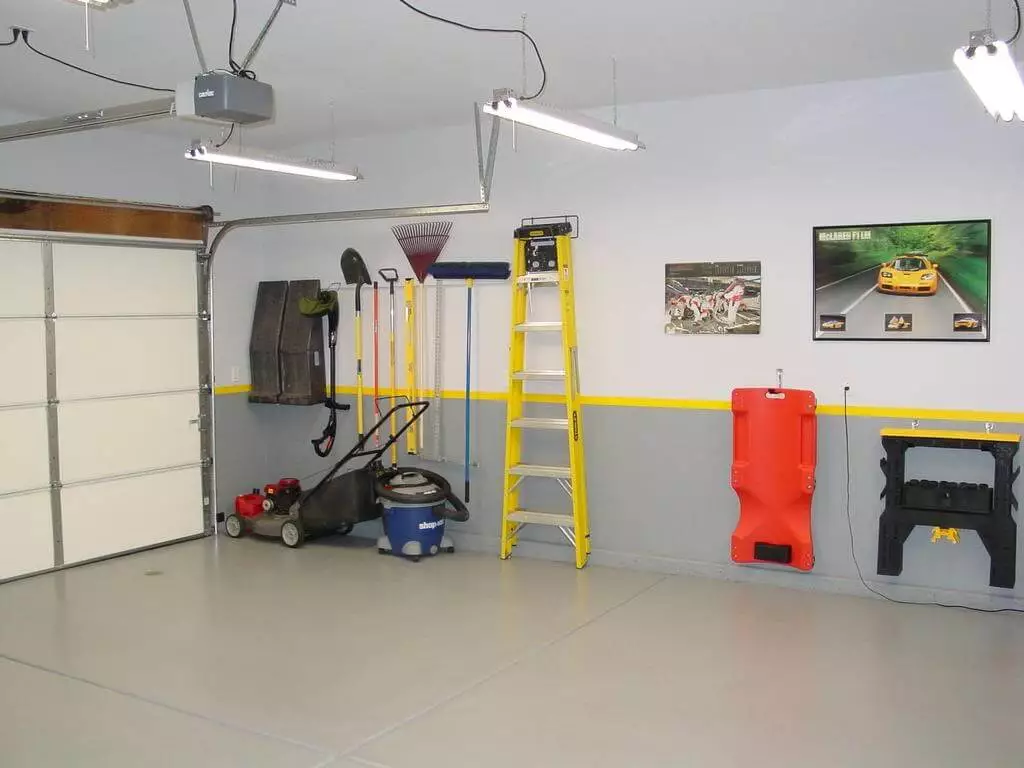
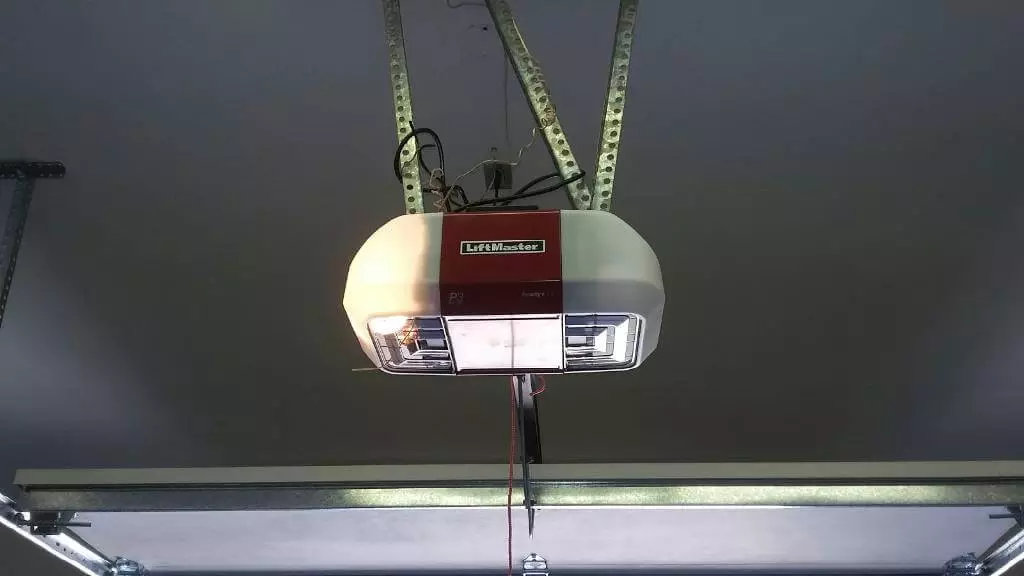
Pro tip: Look for labels on the motor unit in your garage. This often shows the brand and model number. Knowing the brand helps ensure that your remote will sync properly, especially if you’re using a universal garage remote.
Step 2: Locate the “Learn” Button on Your Opener
Every modern garage door opener has a “Learn” button, which allows your remote to communicate with the opener. This button is usually found on the back or side of the motor unit.
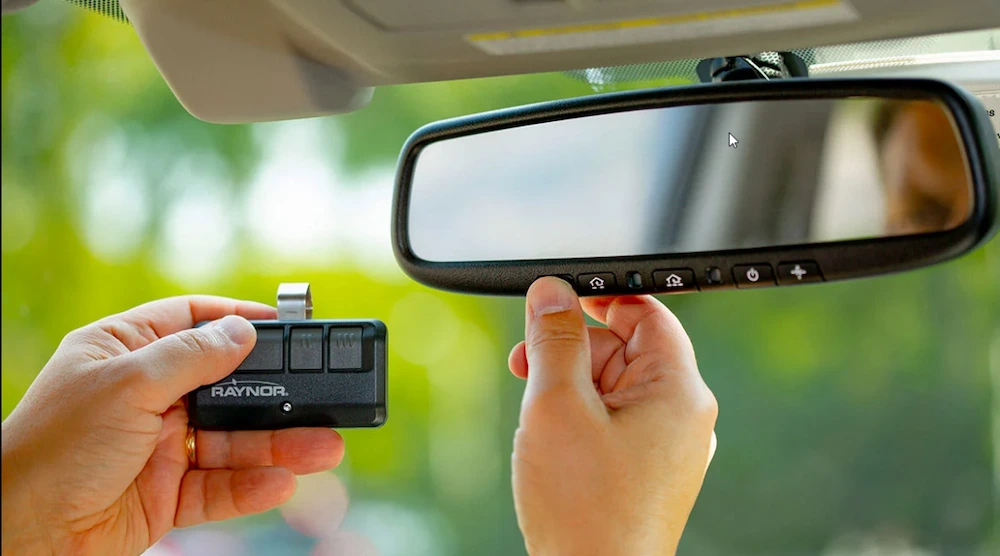
Important: Do not hold the button down for too long—pressing it briefly is often enough. This step is crucial when you’re trying to sync garage door remote for the first time or reset it for a new device.
Step 3: Press the Learn Button and Prepare Your Remote
Once you’ve located the Learn button:
- Press it once (don’t hold it).
- You’ll usually see a blinking light, indicating the opener is ready to receive signals.
- Immediately move to your remote and press the button you want to program.
This is a key moment for programming instructions for garage opener. If the light stops blinking, you may need to repeat the process.
Step 4: Press and Hold the Remote Button
Press the button on your remote for a few seconds. You should notice your garage door opener reacting (sometimes a click or a light flash). This confirms that the remote has been successfully paired.
If you’re trying to program multiple program garage door remote at once, repeat this process for each remote. Keep in mind that some older models may have a limit on how many remotes can be paired.
Step 5: Test the Remote
After programming, test your remote from different distances in your garage. Make sure it opens and closes the door smoothly. If it doesn’t work:
- Check the battery in your remote.
- Ensure there’s no obstruction blocking the sensors.
- Repeat the programming steps carefully.
Testing is especially important when using a universal garage remote, as these can occasionally have compatibility quirks.
Real-Life Case Study: How Proper Remote Programming Saved a Homeowner Time and Stress
Last year, a client named Mark reached out after struggling for weeks with his garage door remote. He had purchased a universal program garage door remote but couldn’t get it to work with his older opener. By carefully identifying the opener brand, following the correct programming steps, and troubleshooting signal issues, we were able to program his garage remote for multiple doors in less than 15 minutes.
Mark shared that this simple step saved him numerous trips back and forth from the garage, improved security, and reduced his frustration significantly. This example highlights why following precise programming instructions can make a huge difference.
Troubleshooting Tips
Even after following all steps, you might encounter issues. Here are some common solutions:
- Remote not responding: Replace the battery and ensure the remote is within range.
- Garage door not moving: Check that the opener is plugged in and the “Learn” button was pressed correctly.
- Multiple remotes not syncing: Some models require clearing old codes before adding new remotes.
Additional tips for homeowners:
- Keep a spare battery in your garage for emergencies.
- Label your remotes if you have multiple doors.
- Document your programming steps for future reference.
Additional Considerations
- Security: Regularly update your remote codes to maintain garage security.
- Universal Remotes: These can work across different brands but may require more detailed programming.
- Professional Assistance: If you encounter persistent issues, a certified garage door technician can help avoid potential damage.
Conclusion
Knowing how to program garage door remote is more than just convenience—it’s a small but important step toward a secure and efficient home. By following these step-by-step instructions, using your remote control setup correctly, and understanding the nuances of your specific opener, you can confidently manage your garage access.
Remember Mark’s case: even small mistakes in programming can cause frustration, but with careful attention and the right guidance, anyone can master this simple yet essential skill.
FAQs
Can I program garage door remote without the manual?
Yes, you can follow step-by-step programming guides for your opener brand and sync it manually.
How do I reset my garage door remote?
Press the “Learn” button on your opener, then reprogram your remote following the instructions.
Can one remote control multiple garage doors?
Yes, many remotes allow you to program multiple garage doors, depending on the opener model.
Why isn’t my universal garage remote working?
Check compatibility, battery life, and follow precise programming instructions for syncing.

Safety-first is Troy’s motto. He’s your guide to a secure garage space, offering advice that puts your peace of mind front and center.

